As an Outer Hub Oil Seal supplier, I've witnessed firsthand the importance of proper maintenance and cleaning for these crucial components. Outer hub oil seals play a vital role in preventing lubricant leakage and keeping contaminants out of the wheel hub assembly. In this blog post, I'll share a comprehensive guide on how to clean an outer hub oil seal effectively, ensuring its optimal performance and longevity.
Understanding the Outer Hub Oil Seal
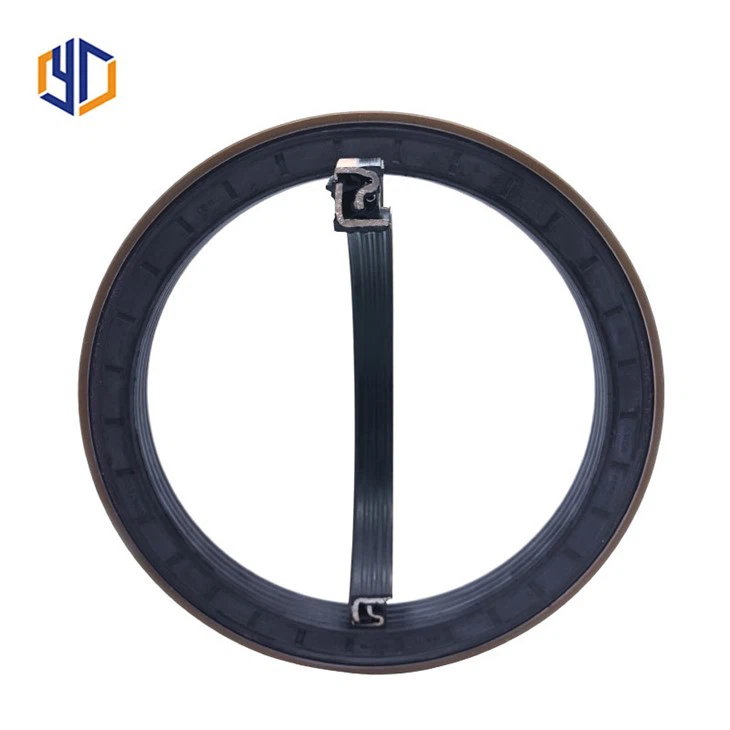
Before we dive into the cleaning process, it's essential to understand what an outer hub oil seal is and why it's so important. Outer hub oil seals are typically made of rubber or a combination of rubber and metal. They are designed to fit snugly around the wheel hub, creating a barrier that prevents oil and grease from escaping and dirt, water, and other contaminants from entering.
A damaged or dirty outer hub oil seal can lead to a variety of problems, including reduced lubrication, increased friction, and premature wear of the wheel hub components. This can result in costly repairs and even pose a safety risk. Therefore, regular cleaning and inspection of the outer hub oil seal are essential to maintain the integrity of the wheel hub assembly.
Tools and Materials Needed
To clean an outer hub oil seal, you'll need the following tools and materials:
- Safety glasses and gloves
- Socket wrench set
- Screwdriver
- Pliers
- Clean rags or towels
- Degreaser or parts cleaner
- Lubricant (such as wheel bearing grease)
- New outer hub oil seal (if necessary)
Step-by-Step Cleaning Process
Step 1: Prepare the Vehicle
Before you begin cleaning the outer hub oil seal, make sure the vehicle is parked on a level surface and the parking brake is engaged. If you're working on a truck or trailer, chock the wheels to prevent the vehicle from rolling. Put on your safety glasses and gloves to protect yourself from any debris or chemicals.
Step 2: Remove the Wheel
Use the socket wrench set to loosen the lug nuts on the wheel. Once the lug nuts are loose, use a jack to lift the vehicle off the ground and remove the wheel. Place the wheel in a safe location.
Step 3: Locate the Outer Hub Oil Seal
The outer hub oil seal is typically located at the outer end of the wheel hub, behind the brake drum or disc. It may be covered by a dust cap or hubcap, which you'll need to remove using a screwdriver or pliers.
Step 4: Remove the Old Oil Seal
If the old oil seal is damaged or worn, you'll need to remove it before cleaning. Use a flathead screwdriver or a seal puller to gently pry the old oil seal out of the hub. Be careful not to damage the hub or the surrounding components.
Step 5: Clean the Hub and Seal Area
Once the old oil seal is removed, use a clean rag or towel to wipe away any dirt, grease, or debris from the hub and the seal area. Apply a degreaser or parts cleaner to the hub and the seal area, and use a brush or a rag to scrub away any stubborn dirt or grime. Rinse the hub and the seal area thoroughly with water, and dry them completely with a clean rag or towel.
Step 6: Inspect the Hub and Components
While the hub is clean, take the time to inspect it for any signs of damage or wear. Look for cracks, scoring, or other defects in the hub, the bearings, and the races. If you notice any damage, you'll need to replace the damaged components before installing the new oil seal.
Step 7: Install the New Oil Seal
Before installing the new oil seal, apply a thin layer of lubricant (such as wheel bearing grease) to the lip of the seal. This will help to prevent the seal from sticking and ensure a proper seal. Carefully place the new oil seal into the hub, making sure it is seated properly. Use a seal installer or a socket that is the same size as the seal to gently tap the seal into place until it is flush with the hub.
Step 8: Reassemble the Components
Once the new oil seal is installed, reassemble the components in the reverse order of disassembly. Replace the dust cap or hubcap, and reinstall the wheel. Tighten the lug nuts to the manufacturer's specifications using the socket wrench set.
Step 9: Lower the Vehicle
Use the jack to lower the vehicle back to the ground. Remove the jack and the wheel chocks.
Step 10: Test the Vehicle
Before driving the vehicle, start the engine and check for any signs of oil leakage or other problems. If everything looks good, take the vehicle for a short test drive to make sure the wheel is functioning properly.
Tips for Maintaining Outer Hub Oil Seals
- Regular Inspections: Inspect the outer hub oil seals regularly for signs of damage, wear, or leakage. If you notice any problems, replace the oil seal immediately.
- Keep the Seals Clean: Keep the outer hub oil seals clean by regularly washing the wheels and the wheel hubs. Avoid using harsh chemicals or abrasive cleaners, as these can damage the seals.
- Use the Right Lubricant: Use the recommended lubricant for the wheel bearings and the outer hub oil seals. This will help to ensure proper lubrication and prevent premature wear.
- Replace Seals as Needed: If the outer hub oil seal is damaged or worn, replace it as soon as possible. This will help to prevent further damage to the wheel hub components and ensure the safety of the vehicle.
Conclusion
Cleaning an outer hub oil seal is a relatively simple process that can help to extend the life of your wheel hub components and prevent costly repairs. By following the steps outlined in this blog post and taking the necessary precautions, you can ensure that your outer hub oil seals are clean, properly maintained, and functioning at their best.

If you're in the market for high-quality outer hub oil seals, we offer a wide range of products to meet your needs. Our Truck Wheel Hub Repair Seals, Wheel Hub Oil Seal, and Trailer Hub Oil Seal are designed to provide reliable performance and long-lasting durability. Contact us today to discuss your specific requirements and to learn more about our products. We look forward to working with you!
References
- Automotive Service Excellence (ASE) study guides
- Manufacturer's service manuals for trucks, trailers, and other vehicles