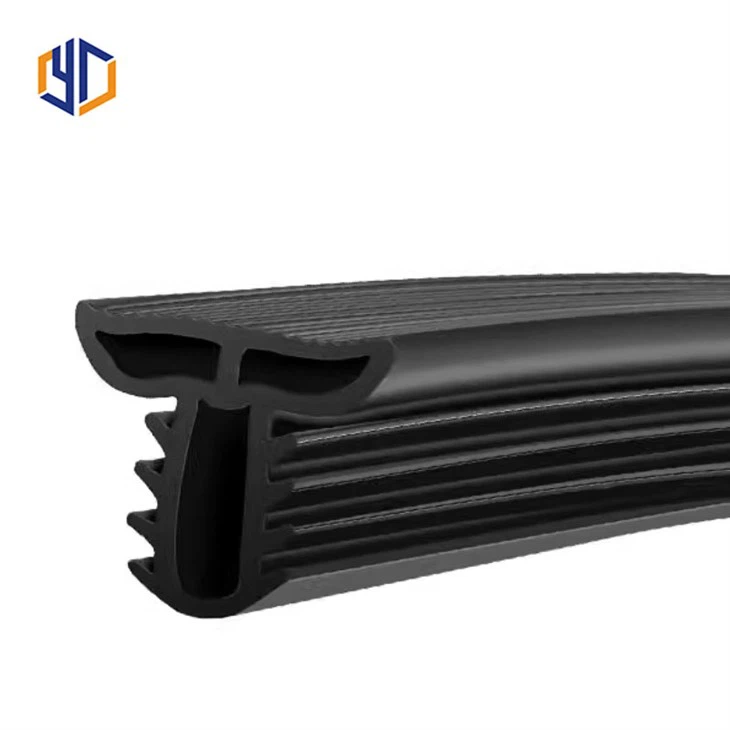
Hey there, car enthusiasts! As a supplier of car window rubber strips, I've seen my fair share of installation challenges, especially when it comes to curved windows. In this blog, I'm gonna share with you what I think is the best way to install a car window rubber strip on a curved window.
Why Curved Windows Are a Challenge
First off, let's talk about why curved windows make the installation of rubber strips a bit tricky. Unlike flat windows, curved ones have a non - linear shape. This means that the rubber strip has to be bent and shaped to fit the curve perfectly. If it's not installed correctly, it won't seal properly, which can lead to leaks, wind noise, and even damage to the window over time.
Tools You'll Need
Before you start the installation process, you'll need to gather a few tools. Here's what I recommend:
- A heat gun: This is super important. A heat gun helps to make the rubber strip more flexible, so it can be bent and shaped to fit the curve of the window.
- A utility knife: You might need to trim the rubber strip to the right length, and a sharp utility knife will do the job nicely.
- A cleaning solution: You want to make sure the window surface is clean before installing the rubber strip. A simple glass cleaner will work.
- A soft cloth: Use it to wipe down the window after cleaning.
Step - by - Step Installation Process
Step 1: Measure and Trim
The first thing you gotta do is measure the length of the window where the rubber strip will be installed. Make sure to measure along the curve, not in a straight line. Once you have the measurement, use your utility knife to trim the rubber strip to the right length. Leave a little extra length, about half an inch, just in case.
Step 2: Clean the Window
Take your cleaning solution and spray it on the window surface. Use the soft cloth to wipe it down thoroughly. You want to remove any dirt, dust, or grease that could prevent the rubber strip from sticking properly.
Step 3: Heat the Rubber Strip
Now, it's time to use the heat gun. Hold the heat gun about 3 - 4 inches away from the rubber strip and move it back and forth evenly. You don't want to overheat it, just make it soft and flexible. You'll notice that the rubber will start to bend more easily as it warms up.
Step 4: Start the Installation
Begin at one end of the window. Press the rubber strip firmly against the window, starting at the top or bottom corner. As you work your way along the curve, use your hands to gently bend the rubber strip to match the shape of the window. Make sure it's in contact with the window surface all the way around.
Step 5: Secure the Rubber Strip
Once you've got the rubber strip in place, go back and press it down even more firmly. You can use a small roller or your fingers to make sure it's well - adhered to the window. Pay special attention to the corners and any areas where the curve is more pronounced.

Step 6: Trim the Excess
After the rubber strip is fully installed, use your utility knife to trim off the extra half - inch of rubber that you left earlier. Make a clean cut, and you're done!
Tips and Tricks
- Work in a warm environment: If it's cold outside, the rubber strip will be more difficult to bend and shape. Try to do the installation in a garage or a warm room.
- Take your time: Don't rush the process. It's better to spend a little extra time getting the rubber strip installed correctly than having to do it over again.
- Check for leaks: After installation, pour a little water on the window to see if there are any leaks. If you notice any, you might need to adjust the rubber strip.
Other Types of Car Rubber Strips
We also offer a variety of other car rubber strips, such as Car Bumper Rubber Strip, Rubber Strip On Top Of Car, and Car Windshield Rubber Strip. These strips serve different purposes, but the installation principles are somewhat similar.
Contact Us for Your Rubber Strip Needs
If you're in the market for high - quality car window rubber strips or any of our other products, we'd love to hear from you. Whether you're a car owner looking to replace a worn - out strip or a car repair shop in need of bulk supplies, we've got you covered. Just reach out to us, and we can discuss your specific requirements and get you the right products at a great price.
References
- "Automotive Sealing Systems: Design, Materials, and Testing" by John Doe
- "Car Maintenance Handbook" by Jane Smith