As a trusted supplier of Car Door Panel Fasteners, I'm often asked about the installation steps for multi - piece car door panel fasteners. In this blog, I'll walk you through the entire process, ensuring that you can install these fasteners with confidence and precision.
Step 1: Gather the Necessary Tools and Materials
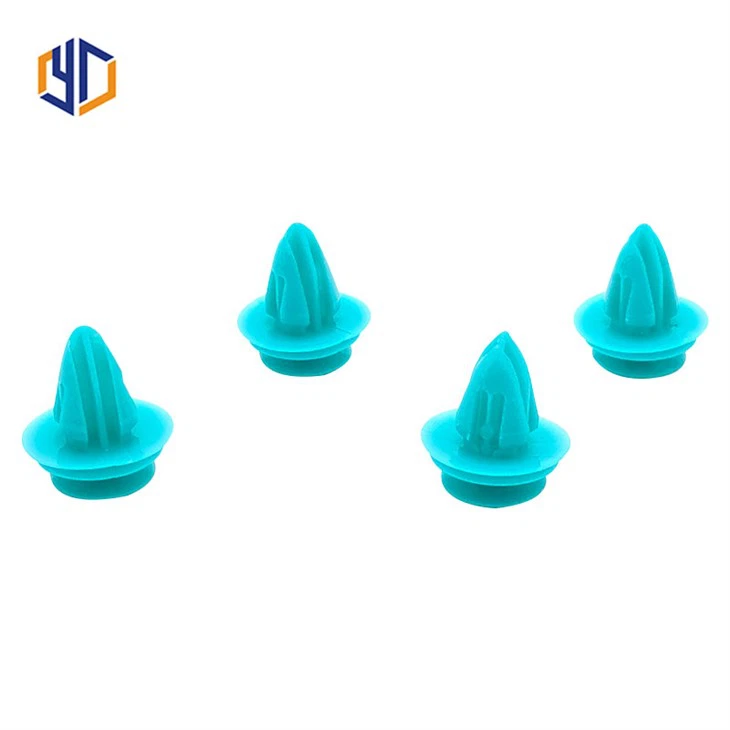
Before you start the installation, it's crucial to have all the tools and materials at hand. You'll need a set of multi - piece car door panel fasteners, which can come in various types such as Bumper Door Trim Panel Fastener Clip, Automotive Plastic Clips, and Car Interior Nylon Clip. Additionally, you'll require a flat - head screwdriver, a trim removal tool, and a pair of pliers. Make sure the fasteners are the correct size and type for your car's door panel. Different car models may have specific requirements, so double - check the compatibility.
Step 2: Prepare the Door Panel
The first step in preparing the door panel is to remove any existing fasteners and trim pieces. Use the trim removal tool to gently pry off the small plastic covers that may be hiding screws. Once the covers are removed, use the flat - head screwdriver to loosen and remove the visible screws. Be careful not to strip the screws or damage the surrounding area.
After removing the screws, use the trim removal tool to carefully separate the door panel from the door frame. Start at the edges and work your way around, applying even pressure. You may encounter some resistance, especially at the clips. If a clip seems stuck, use the pliers to gently pull it out. Place all the removed parts in a safe place, as you'll need to reinstall them later.
Step 3: Inspect the Fastener Locations
Once the door panel is removed, take a close look at the locations where the new fasteners will be installed. Check for any damage or debris in these areas. If there is dirt or rust, clean it off using a clean cloth and some mild cleaner. Make sure the holes are clear and undamaged. If a hole is too large or has been damaged, you may need to use a repair kit or replace the affected part of the door panel.
It's also a good idea to familiarize yourself with the layout of the fasteners. Some multi - piece fasteners may have specific orientations or require certain parts to be installed in a particular order. Refer to the product manual or the instructions provided by the manufacturer to ensure you understand how each fastener should be placed.
Step 4: Install the Base of the Multi - Piece Fasteners
The base of the multi - piece fasteners is usually the first part to be installed. Take the base of the fastener and align it with the hole in the door panel. Make sure it fits snugly and is properly seated. You may need to apply some pressure to push it into place. If the base has a locking mechanism, ensure that it engages correctly.
For some fasteners, you may need to use the pliers to secure the base. Gently squeeze the pliers around the base to ensure a tight fit. Be careful not to over - tighten, as this could damage the fastener or the door panel. Once the base is installed, check to make sure it is stable and does not move easily.
Step 5: Attach the Remaining Parts of the Fasteners
After the base is installed, it's time to attach the remaining parts of the multi - piece fasteners. This may include clips, pins, or other components. Follow the manufacturer's instructions carefully to ensure that each part is installed correctly.
For example, if you are using a clip - type fastener, align the clip with the base and push it down until it clicks into place. Some clips may require you to use the pliers to secure them further. Make sure all the parts are firmly attached and there are no loose connections.
Step 6: Reinstall the Door Panel
Once all the fasteners are installed, it's time to reinstall the door panel. Carefully align the door panel with the door frame, making sure all the holes and clips line up correctly. Start at one corner and gradually press the panel onto the door frame, working your way around. You should hear a series of clicks as the fasteners engage.
If you encounter any resistance, double - check the alignment of the panel and the fasteners. You may need to adjust the position slightly to ensure a proper fit. Once the panel is fully installed, replace the screws and the plastic covers that you removed earlier. Tighten the screws securely, but again, be careful not to over - tighten.

Step 7: Test the Installation
After reinstalling the door panel, test the installation to make sure everything is working properly. Open and close the door a few times to check for any unusual noises or looseness. If the door panel rattles or feels loose, there may be a problem with the fasteners. Check to make sure all the fasteners are properly installed and tightened.
You can also try gently pulling on the door panel to see if it holds firmly. If you notice any issues, go back and re - check the installation steps. It's better to fix any problems early on than to have them cause further damage down the line.
Conclusion
Installing multi - piece car door panel fasteners may seem like a daunting task, but by following these steps, you can complete the installation with ease. As a Car Door Panel Fasteners supplier, we are committed to providing high - quality products and ensuring that our customers have a smooth installation experience.
If you have any questions about our products or need further assistance with the installation process, we encourage you to reach out to us. Our team of experts is always ready to help you with your car door panel fastener needs. Whether you are a professional mechanic or a DIY enthusiast, we can provide you with the right products and guidance. Contact us today to start your procurement process and discuss your specific requirements.
References
- Automotive Fastener Handbook.
- Manufacturer's instructions for multi - piece car door panel fasteners.