Hey there, car enthusiasts! If you're like me, you take pride in keeping your ride looking sharp and protected. One of the easiest ways to do that is by installing a car bumper rubber strip on your composite bumper. I'm a supplier of Car Bumper Rubber Strips, and I've seen firsthand how these simple additions can make a big difference. In this blog, I'll walk you through the process of installing a car bumper rubber strip step by step.
Why Install a Car Bumper Rubber Strip?
Before we dive into the installation process, let's talk about why you should consider adding a rubber strip to your bumper. First off, it provides an extra layer of protection. Bumps, scrapes, and minor collisions are all part of driving, and a rubber strip can absorb some of the impact, preventing damage to your bumper. It also helps to reduce the risk of scratches and dents, keeping your car looking new for longer.
Secondly, a bumper rubber strip can enhance the appearance of your vehicle. It gives your car a sleek, finished look and can even add a touch of style. Whether you're going for a sporty or a more classic look, there's a rubber strip out there that will suit your taste.
What You'll Need
Now that you know why you should install a car bumper rubber strip, let's gather the tools and materials you'll need for the job. Here's a list:
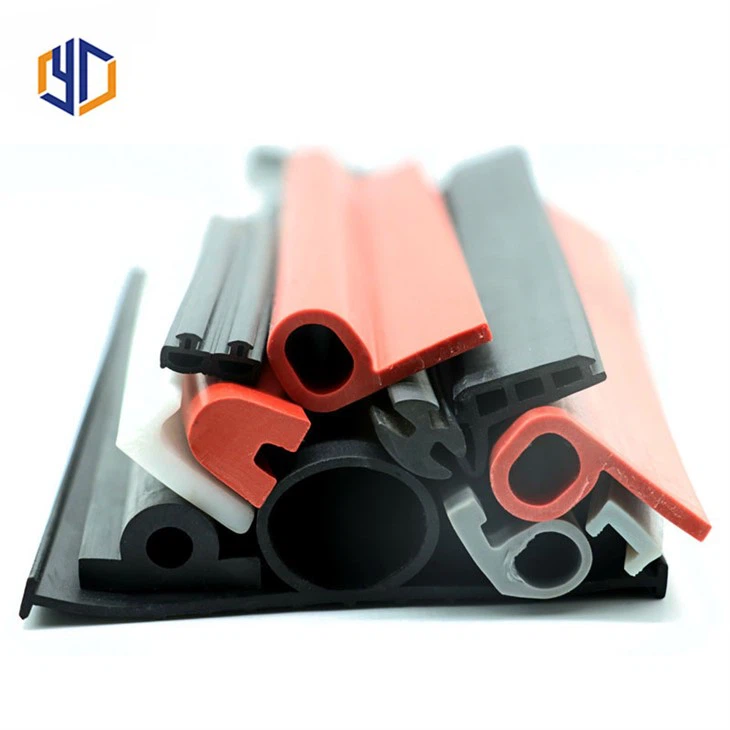
- Car Bumper Rubber Strip: Make sure you choose a strip that's the right size and shape for your bumper. You can find a variety of options on the market, so take your time to find the one that fits your car best.
- Cleaning Supplies: You'll need a clean cloth, some soap, and water to clean the bumper before installation. This will ensure that the rubber strip adheres properly.
- Measuring Tape: To make sure you cut the rubber strip to the right length, you'll need a measuring tape.
- Utility Knife: You'll use this to cut the rubber strip to size.
- Masking Tape: This will help you hold the rubber strip in place while you're installing it.
Step 1: Clean the Bumper
The first step in installing a car bumper rubber strip is to clean the bumper thoroughly. Use a clean cloth, soap, and water to remove any dirt, grime, or wax from the surface. Make sure the bumper is completely dry before you proceed. This will ensure that the adhesive on the rubber strip sticks properly.
Step 2: Measure and Cut the Rubber Strip
Once the bumper is clean and dry, it's time to measure and cut the rubber strip. Use a measuring tape to determine the length of the area where you want to install the strip. Add a few extra inches to the measurement to allow for any adjustments.
Next, use a utility knife to cut the rubber strip to the appropriate length. Be careful to make a straight, clean cut. You can use a ruler or a straight edge to guide your knife if needed.
Step 3: Position the Rubber Strip
Before you apply the adhesive, it's a good idea to position the rubber strip on the bumper to make sure it fits properly. Use masking tape to hold the strip in place temporarily. Start at one end of the bumper and carefully lay the strip along the edge, making sure it's straight and centered.
Take your time to adjust the position of the strip until you're happy with how it looks. You can use a level or a straight edge to ensure that the strip is perfectly aligned.
Step 4: Apply the Adhesive
Once you're satisfied with the position of the rubber strip, it's time to apply the adhesive. Most car bumper rubber strips come with a self - adhesive backing. Remove the protective paper from the adhesive side of the strip, starting at one end.
Carefully press the exposed adhesive side of the strip onto the bumper, starting at the end you've already positioned. Use a cloth or a roller to firmly press the strip onto the bumper, making sure there are no air bubbles or gaps. Work your way along the strip, applying pressure as you go.
Step 5: Trim the Excess
After you've applied the rubber strip to the bumper, you may have some excess material at the ends. Use a utility knife to trim the excess rubber strip, making sure to cut it flush with the bumper.
Step 6: Final Checks
Once you've trimmed the excess, take a step back and check your work. Make sure the rubber strip is firmly attached to the bumper and that there are no gaps or air bubbles. If you notice any areas that need further adjustment, you can carefully lift the strip and re - position it.

Other Types of Rubber Strips for Your Car
If you're interested in enhancing other parts of your car, we also offer a range of other rubber strips. Check out our Car Windshield Rubber Strip, which helps to seal your windshield and prevent leaks. Our Rubber Strip On Top Of Car can add a stylish touch to the roof of your vehicle. And for your car windows, our Car Window Rubber Strip provides a tight seal and reduces noise.
Conclusion
Installing a car bumper rubber strip is a simple and cost - effective way to protect your car and enhance its appearance. With the right tools and a little patience, you can do it yourself in no time. If you're in the market for high - quality car bumper rubber strips or any of our other rubber products, don't hesitate to reach out. We're here to help you find the perfect solution for your car. Whether you're a DIY enthusiast or a professional mechanic, we've got you covered. Contact us today to discuss your needs and start improving your car's look and protection.
References
- Automotive aftermarket industry publications
- Manufacturer's installation guides for car bumper rubber strips